How to Can Your Foods Using Jars and Lids
Canning is one of the most economical and safe ways to preserve food for long periods. The ability to can your food is a handy skill if you’re a prepper or someone involved in homesteading. Contrary to popular belief, home canning is not limited to the kind done commercially with metal containers.
You can do canning at home with jars and lids too. As long as you get the canning process right, you’ll be able to preserve your food for relatively long periods and just as effectively.
In this guide, you’ll discover how you can safely can fruits and vegetables in glass jars with airtight lids.
Why Fruits and Vegetables Perish Quickly
The reason that most veggies and fruit perish fast is due to the high water content in these foods. Undesirable bacteria start to thrive, and if the lid isn’t airtight, there may be a loss of moisture too. To can such foods well, you’ll need to use hot packing as a method of preserving these foods.
For vegetables like potatoes, you’ll need to peel them before canning. You’ll also need to add vinegar, citric acid, or lemon juice to some foods because the acidic properties will help preserve the foods better.
Choosing the Right Jars and Lids for Home Canning
Not all jars and lids are suitable for canning. You must use the right kind that can withstand heat since you’re using boiling water, and the lids should be the self-sealing kind.
Before using the jars, you’ll need to sterilize them. This can be done by placing the jars in warm water in a boiling water canner. The water level should roughly be 1 inch above the top of the jar. Now you’ll need to boil the water for about 8 to 10 minutes to sterilize the jars.
Preparing and Filling the Jars
Remove the empty jars and allow them to cool. Depending on what food you’re planning to preserve, you’ll need to know the correct processing time. Going into details here is beyond the scope of this article because of the sheer variety of foods out there. So, you could do your research online to know roughly how long the processing time is.
After adding your food to the jar, use a plastic spatula to slowly stir the food. The goal is to get the air bubbles to rise to the surface. You’ll need to use a high-quality self-sealing lid to seal the jar. This will usually be a metal lid with a metal screw band.
Sealing and Processing the Jars
When you place the jars with the lids in the boiling water canner and start the process, the lid gasket will soften. While it will allow air to escape out of the jar, it will form an airtight seal around the lid when it cools.
When using a boiling water canner, you must allow the jar to process for the right length of time and then allow the jars to cool at room temperature.
Using the Right Canner for Your Foods
The foods you’re preserving will usually dictate what type of canner to use. If you’re preserving low-acid foods, you should use a pressure canner to minimize any risk of botulism. Acidic foods are better preserved with a boiling-water canner because these canners are much faster.
Tips for Successful Home Canning
There are many different types of jars, sealing lids, and canners on the market. Do your research and get those that are of high quality and proven reliable. Since the food you’re preserving will be consumed by your family and you, the food’s safety and quality will directly impact your well-being. So, learn the process well and can your foods properly.
Case Study: Successful Home Canning
Case Study: Jane’s Homestead
Jane, a homesteader from Oregon, decided to start canning her produce to ensure her family had access to healthy, homegrown foods year-round. She started with simple recipes like canned tomatoes and applesauce. By following the correct canning procedures and using high-quality jars and lids, Jane was able to preserve her harvest successfully. She found that using a pressure canner for low-acid vegetables like green beans and a boiling water canner for acidic fruits worked best. Jane’s family now enjoys delicious, preservative-free foods throughout the year, and she saves money by reducing food waste.
Step-by-Step Guide: Canning Tomatoes
Select Fresh Tomatoes: Choose ripe, unblemished tomatoes for canning.
Prepare the Tomatoes: Wash the tomatoes thoroughly. Remove the skins by blanching them in boiling water for 30-60 seconds, then transfer them to ice water. The skins should slip off easily.
Cut and Core: Remove the cores and any damaged parts of the tomatoes. Cut them into quarters.
Sterilize the Jars: Place the jars in a boiling water canner with water 1 inch above the jars. Boil for 10 minutes.
Fill the Jars: Add the tomato quarters to the sterilized jars. Add 2 tablespoons of lemon juice per quart to ensure acidity. Fill the jars with hot tomato juice, leaving 1/2 inch of headspace.
Remove Air Bubbles: Use a plastic spatula to remove air bubbles by gently stirring.
Seal the Jars: Wipe the rims of the jars clean, place the lids on, and screw on the bands until fingertip tight.
Process the Jars: Place the jars in the boiling water canner. Ensure they are covered with 1 inch of water. Process for 45 minutes for quarts, adjusting for altitude.
Cool the Jars: Remove the jars and let them cool at room temperature for 12-24 hours. Check the seals by pressing the center of each lid. If it does not flex, the jar is sealed.
Actionable Tips for Better Home Canning
Use Fresh Produce: Always use the freshest fruits and vegetables to ensure the best flavor and nutritional value.
Follow Recipes Precisely: Canning recipes are tested for safety. Do not alter ingredient proportions or processing times.
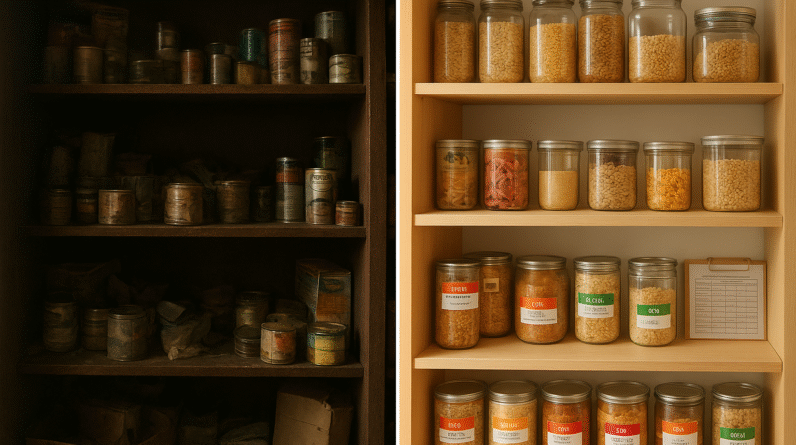
Label Your Jars: Include the date and contents of each jar. This helps you keep track of your preserved foods and ensures you use them within their optimal time frame.
Store Properly: Keep canned goods in a cool, dark place to maintain their quality. Avoid storing them in damp or hot areas.
Benefits of Home Canning
As you can see from this article, it’s not all that difficult once you have the equipment and know-how to do it yourself. You’ll save money in the long run, and food that’s canned by you will always be healthier and a better alternative than buying commercially canned food. So, get started today and learn this useful skill.
By mastering home canning, you not only ensure your family has access to nutritious, preservative-free foods, but you also gain a valuable skill that enhances your self-sufficiency and preparedness.
Join the Conversation
We hope you found this guide on home canning helpful! Have you tried canning your foods? What tips and tricks have worked best for you? Share your experiences and questions in the comments below. If you enjoyed this article, please share it with your friends and family. Don’t forget to explore our other articles on food preservation and homesteading for more valuable insights!